


Few things sink an e-commerce business faster than a broken payment gateway.
When customers try to complete a purchase, only to be stopped by a red banner that says "There was an error processing your order. Please try again or contact us for assistance," every failed click costs you real revenue.
In 2026, as the official WooCommerce Stripe Gateway plugin increasingly pushes merchants toward the new Stripe Payment Element (the advanced multi-method card form), this error has become more common than ever. The root cause is almost never a declined card or incorrect API keys. More often, it stems from a silent webhook failure on the backend, an overly aggressive firewall blocking Stripe's telemetry, or a GDPR cookie plugin incorrectly flagging Stripe's security scripts as tracking code.
If generic advice to toggle between test and live mode hasn't worked, this comprehensive technical blueprint will show you exactly how to identify the root cause and fix Stripe checkout failures permanently.

Quick Diagnosis: Is the Failure on the Frontend or the Backend?
To fix the error efficiently, you first need to determine whether the breakdown happens before data leaves the customer's browser, or when Stripe tries to communicate back to your hosting server.
The 30-Second Diagnosis Flow
- Open an incognito browser window, add a product to your cart, and navigate to checkout.
- Right-click anywhere on the page, select Inspect, and switch to the Console tab.
- Click the Place Order button to trigger the error banner.
- If you see red JavaScript errors mentioning
js.stripe.comor Content Security Policy → skip straight to Step 2. - If the console stays clean but the button spins before crashing → your frontend is fine. The issue is on your server. Proceed to Step 1.
Step 1: Fix Broken Stripe Webhooks & REST API Blocks
If a customer's payment shows up as successful in your Stripe Dashboard, but WooCommerce never creates an order — or loops back to the "error processing your order" notice — your server is failing to process Stripe's incoming asynchronous notification (the webhook).
Modern WooCommerce Stripe integrations rely entirely on the WordPress REST API to receive transaction status updates.
1.1 Verify Your Webhook Signing Secret
- Go to your Stripe Dashboard → Developers → Webhooks.
- Click on your site's endpoint URL (it should look exactly like: https://yourdomain.com).
- Click Reveal under Signing secret and copy the key.
- In your WordPress admin, go to WooCommerce → Settings → Payments → Stripe → Manage.
- Make sure the Webhook Secret matches the one in your Stripe dashboard exactly. Even a trailing space or a single mismatched character causes a silent validation failure, which drops the order during checkout.
1.2 Whitelist Stripe Webhooks in Cloudflare WAF
If your store traffic is routed through Cloudflare, its Web Application Firewall (WAF) often misidentifies automated webhook requests from Stripe's IP addresses as malicious bot activity and returns a 403 Forbidden response.
- Log into your Cloudflare Dashboard → Security → Events.
- Look for challenged or blocked events targeting the path
/wp-json/wc/v3/webhooks. - To fix this, go to Security → WAF → Custom Rules and click Create Rule.
- Configure the rule as follows:
- Field: URI Path
- Operator: equals
- Value:
/wp-json/wc/v3/webhooks - Action: Skip → Check All WAF managed rules, Rate limiting, and Bot Fight Mode
- Click Deploy.

Step 2: Fix GDPR Cookie Consent Script Blockages (The #1 2026 Issue)
This is the single most overlooked cause of Stripe failures on modern EU/US compliance sites. If you use a GDPR/CCPA cookie banner plugin (such as CookieBot, Complianz, or Real Cookie Banner), the plugin is designed to delay non-essential scripts until the user clicks "Accept All."
However, Stripe loads behavioral fraud detection elements from https://stripe.com to comply with PSD2 Strong Customer Authentication (SCA) regulations. If your cookie tool classifies stripe.js as a "Marketing/Tracking" script and blocks it, the payment form will freeze or break completely on submission.
How to Add a Compliance Exemption
- Open your active cookie consent plugin's settings.
- Find the Script Blocking or Script Center page.
- Add the following entries to your allowlist or exclusion field to bypass optimization blocking:
https://stripe.com stripe.js woocommerce-gateway-stripe - If your plugin supports granular categorization, manually move all scripts from the WooCommerce Stripe plugin directory out of the Marketing category and label them as Necessary / Essential / Functional.
Step 3: Resolve Content Security Policy (CSP) Header Restrictions
If your browser console shows an error like:
Refused to load the script 'https://js.stripe.com' because it violates the following Content Security Policy directive...
then your server's security headers are actively blocking Stripe's external token communication. This typically happens when hard-coded security rules are added to your .htaccess file or through a performance/security plugin.
How to Update Your Server Headers
- Access your site's root directory via FTP or your host's File Manager.
- Open your
.htaccessfile for editing. - Locate your
Content-Security-Policydirective and append Stripe's endpoints to your allowlist:Header set Content-Security-Policy "script-src 'self' https://js.stripe.com https://stripe.com; frame-src 'self' https://js.stripe.com https://stripe.com;"
Important: This line replaces your existing CSP header entirely — do not paste it alongside another one, or you'll end up with conflicting directives. If you already allow other domains (e.g., Google Analytics, Facebook Pixel), merge them into this single directive.
This tells browsers that loading scripts and iframe content directly from Stripe's authenticated edge networks is trusted, removing the local runtime sandbox block.

Step 4: Clear Stale Transients and Rebuild Security Nonces
Sometimes the checkout fails because of a caching mismatch in your site's database. When a guest customer applies a coupon, updates their shipping postcode, or switches payment methods quickly, WordPress security tokens (nonces) can fall out of sync.
If a customer submits an order with an expired security token, your server flags the request as spoofed and drops it.
How to Safely Resynchronize
- In your WordPress admin, go to WooCommerce → Status → Tools.
- Find Clear WooCommerce transients and click Clear.
- Next, find Clear customer sessions and click Clear.
⚠️ Caution: Clearing customer sessions will immediately empty all active shopping carts and log out all non-admin visitors. To minimize conversion impact, run this during your store's lowest-traffic hours, or post a brief maintenance notice beforehand.
Step 5: Exclude Stripe from JavaScript Deferral & Minification
If you use caching and performance plugins like WP Rocket, LiteSpeed Cache, or Autoptimize, features such as Delay JavaScript Execution or JS Combination often hold back critical parts of Stripe's payment script until the user moves their mouse.
If a shopper fills out the form and clicks "Place Order" before those delayed scripts load, the checkout button breaks.
Exclude Stripe Files from Optimization
- Open your optimization plugin's settings dashboard.
- Find the Delay/Defer JavaScript Exclusions field.
- Add the following entries so Stripe's payment scripts load immediately with the rest of the page:
https://stripe.com /plugins/woocommerce-gateway-stripe/ - Flush all layers of your site cache, then test a full checkout in a clean incognito window.
Frequently Asked Questions
Why does the Stripe error only affect guest buyers, while logged-in admins check out fine?
When you test checkout while logged in as an administrator, your server automatically bypasses page caching, object caching, and some firewall validation. Guest customers hit your raw edge cache and compliance firewalls instead. For accurate testing, always run payment flow tests in an anonymous or private browser window.
Is it safe to disable Stripe webhooks to make the error go away?
No. Disabling the webhook endpoint — either in Stripe or in your WooCommerce settings — will completely break your store's financial workflow. Without webhooks, when a buyer passes 3D Secure verification, Stripe charges their card successfully, but your website never receives the confirmation. The order stays stuck as "Pending Payment," and you never get notified to fulfill it.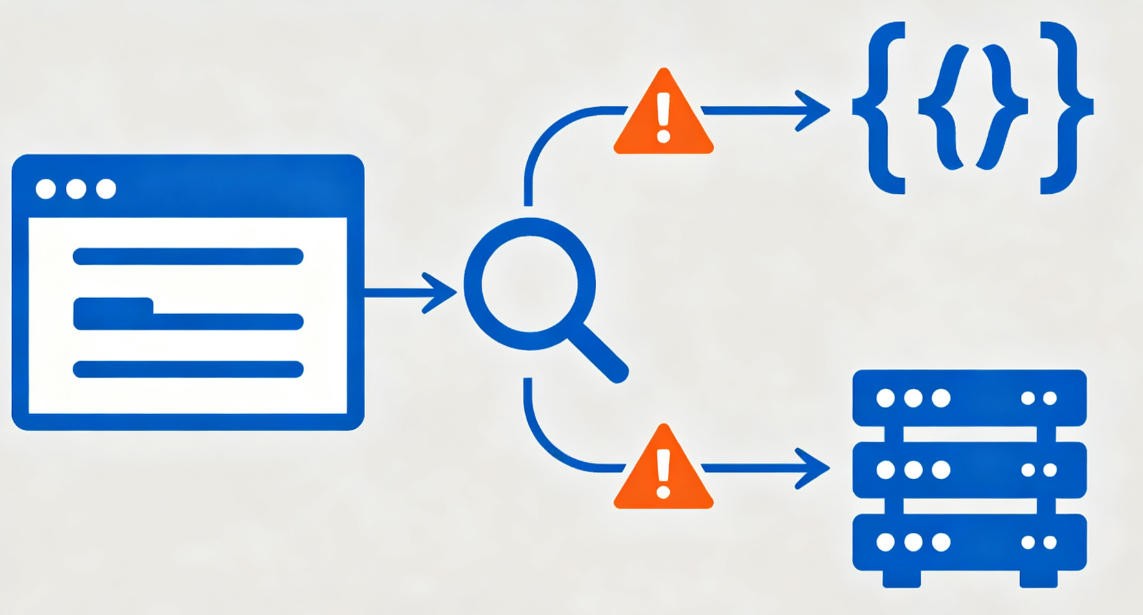
Summary: Reliable Infrastructure Protects Revenue
Fixing backend webhook callbacks, opening the right API ports, and keeping Stripe's scripts unblocked will ensure your checkout runs smoothly. However, if you keep seeing random Stripe script drops or frozen buttons during traffic spikes, your current hosting environment is probably bottlenecking on concurrent database queries.
Running a modern multi-currency, multi-channel WooCommerce store on entry-level shared hosting creates significant operational risk.
To reduce cart abandonment and protect conversions, consider moving to dedicated, enterprise-grade WooCommerce hosting. Premium optimized platforms like Hostinger Managed WooCommerce Cloud or Cloudways High-Concurrency Managed VPS offer isolated, unthrottled server resources out of the box — including Redis object caching and high-allocation PHP workers — so your payment pipeline stays fast and fully responsive 24/7.
Did this technical walkthrough help you clear that frustrating checkout error banner? Drop a comment below and let us know which file or firewall rule was blocking your Stripe gateway.