

Comments78Characters 1529Views5min5sRead

This issue most commonly appears in the WordPress Media Library, or within page builders like Elementor during template or media imports.
This is not a WordPress bug. It is a server-level restriction enforced by your hosting provider to prevent individual users from exhausting shared server resources with unoptimized, multi-gigabyte file uploads. Many hosts set this default limit as low as 2 MB or 8 MB, which is rarely sufficient for modern media and site building workflows.
This guide will walk you through how to verify your current upload limit and cover five reliable approaches — including four direct server-level fixes and one auxiliary WordPress tuning step — to resolve the error.
Quick Diagnosis: Check Your Current Upload Limit
Before editing any configuration files, confirm your existing limit.
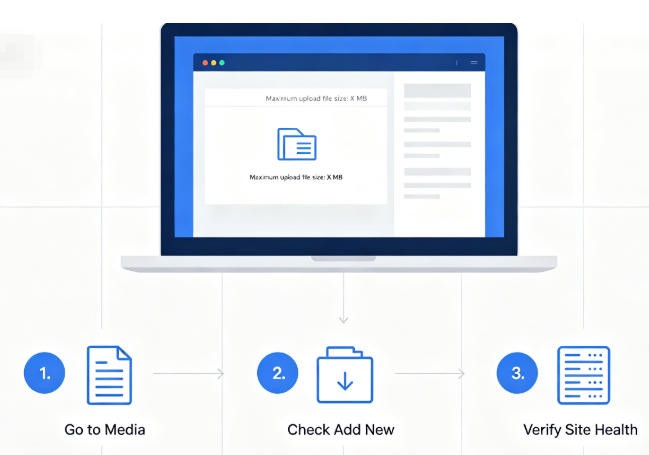
- Log in to your WordPress dashboard.
- Navigate to Media → Add New.
- Check the text below the upload area: “Maximum upload file size: X MB.”
- For a full breakdown, go to Tools → Site Health → Info, open the Server section, and note the values for
PHP post max sizeandPHP upload max filesize.
Your effective maximum upload limit is the smaller of these two values. If they are lower than the file size you need, use one of the methods below.
Core Configuration Sizing Rule
For all methods below, follow this hierarchy to avoid silent upload failures:
upload_max_filesize ≤ post_max_size ≤ memory_limit
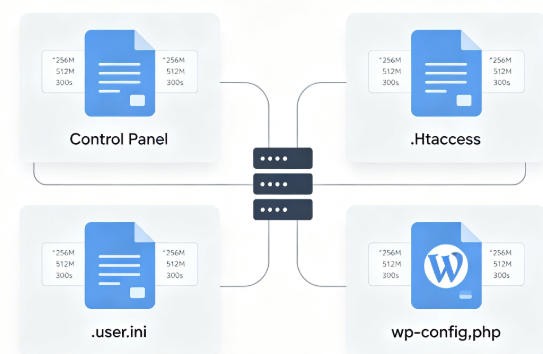
Method 1: Adjust PHP Options via Hosting Control Panel (Safest for Shared Hosting)
If you are on a shared hosting plan with cPanel or a similar visual control panel, this is the most reliable first step — no file editing is required, and changes apply instantly.
- Log in to your hosting control panel.
- Use the search bar to locate Select PHP Version or PHP Options / Configuration.
- Open the Options tab.
- Locate and update the following five variables to match your needs (common values: 128M, 256M, or 512M):
- Save your changes (most panels auto-save adjustments).
- Refresh your WordPress Media Library to confirm the new limit.
This method works for the vast majority of standard shared hosting environments.
Method 2: Modify the .htaccess File (Apache & LiteSpeed Servers)
If your host does not offer a visual PHP settings editor, you can add configuration directives directly to your site’s
.htaccess file. This method only works for Apache and LiteSpeed web servers.Important: Always back up your.htaccessfile before editing. A single syntax error will trigger a 500 Internal Server Error and take your site offline.Note: This method will not work on servers running PHP-FPM. Use the.user.inimethod instead.
- Connect to your server via FTP or your host’s built-in File Manager.
- Locate the
.htaccessfile in your site’s root directory (typically/public_html/). This is a hidden file, so enable “show hidden files” in your client settings if you cannot find it. - Open the file for editing, scroll to the very bottom, and paste the following directives:
apache
php_value upload_max_filesize 256M
php_value post_max_size 256M
php_value memory_limit 512M
php_value max_execution_time 300
php_value max_input_time 300
- Save the file.
Changes apply immediately. Refresh your WordPress media page to verify the new limit.
upload_max_filesize– Controls the maximum size of a single uploaded file.post_max_size– Defines the total size of all data in a single form submission (must be equal to or larger thanupload_max_filesize).- Timeout values – Prevent the server from dropping the connection mid-upload for large files.
Method 3: Create or Edit a .user.ini File (FastCGI / CGI Environments)
Many high-performance managed WordPress hosts run PHP in FastCGI/CGI mode. On these infrastructures,
.htaccess PHP directives are either ignored entirely or cause server errors. Instead, user-level PHP settings are controlled via a .user.ini file.- Access your site’s root directory via FTP or your host’s File Manager.
- Look for an existing file named
.user.ini. This is a hidden file — enable hidden file visibility if you cannot find it. If no such file exists, create a new plain text file in the root directory and name it exactly.user.ini. - Open the file and paste the following configuration:
ini
upload_max_filesize = 256M
post_max_size = 256M
memory_limit = 512M
max_execution_time = 300
max_input_time = 300
- Save the file.
Unlike
.htaccess changes that take effect immediately, .user.ini updates are cached by PHP. The default cache TTL is 300 seconds (5 minutes), so wait up to 5 minutes — though it may take slightly longer if an opcode cache is active — before verifying your upload limit in WordPress.Method 4: WordPress-Level Memory & Timeout Tuning (Auxiliary)
You may have seen advice to add
ini_set() directives to your wp-config.php file to raise upload limits. This will not work for file upload size restrictions.The
upload_max_filesize and post_max_size directives are of the PHP_INI_PERDIR type, meaning they can only be modified via php.ini, .htaccess, or server-level config files. Runtime changes via ini_set() are completely ignored by PHP.That said, you can adjust WordPress-specific memory limits and execution time in
wp-config.php to support large uploads (this will not raise the maximum file size cap on its own):- Locate your
wp-config.phpfile in the site root directory. - Paste the following code above the line
/* That's all, stop editing! Happy publishing. */:
php
define('WP_MEMORY_LIMIT', '512M');
set_time_limit(300);
- Save the file.
Note:WP_MEMORY_LIMITcannot exceed the globalmemory_limitvalue set at the PHP server level.set_time_limit()only extends the timeout for the currently running script, and does not alter global PHP settings.
For actual upload size increases, always use one of the server-level methods above.
Method 5: Configure Nginx (Fix “413 Request Entity Too Large”)
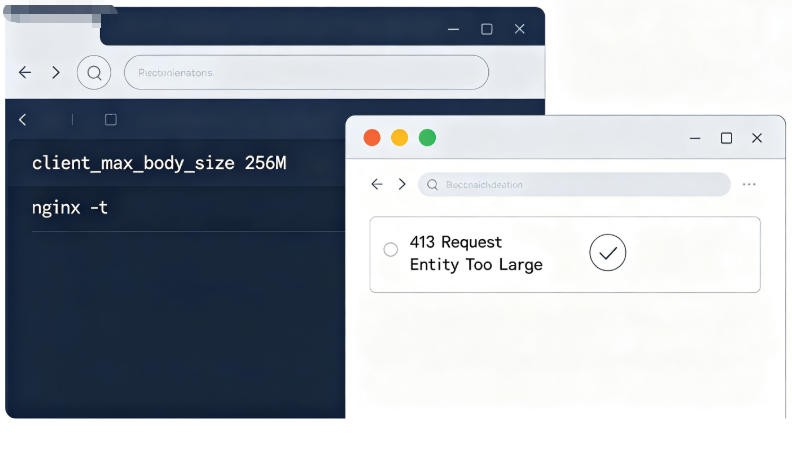
None of the previous methods work for sites running on a native Nginx stack (common on unmanaged VPS setups and custom cloud instances such as DigitalOcean Droplets). Nginx sets a default
client_max_body_size of just 1MB, so large uploads will bypass WordPress entirely and return a hard “413 Request Entity Too Large” error.To fix this, edit your Nginx configuration via SSH:
- Log in to your server via SSH as a root or privileged user.
- Open the target configuration file, depending on the scope you need:
- Global (all sites):
/etc/nginx/nginx.conf(edit thehttp {}block) - Site-specific:
/etc/nginx/sites-available/your-site.conf(edit theserver {}block) - Directory-specific: your site’s WordPress location block
- Global (all sites):
- Add or update the following directive in your chosen block:
nginx
client_max_body_size 256M;
- Save the file, then run a syntax test to avoid downtime:
bash
nginx -t
- If the test passes, restart Nginx to apply the changes:
bash
systemctl restart nginx
Frequently Asked Questions
Why does WordPress have a maximum upload size limit?
WordPress itself does not enforce this limit. It simply reads and displays the values set by your hosting environment’s PHP runtime. The restriction is enforced at the server level to protect shared server resources and reduce risk from malicious large-file uploads.
I edited .htaccess and now my site shows a 500 error. How do I fix it?
This means your hosting environment (such as Nginx or PHP-FPM setups) does not support
php_value directives inside .htaccess files. To restore your site, delete the lines you added to .htaccess, save the file, and use the .user.ini method instead.Can I use a WordPress plugin to increase my upload size?
Several plugins claim to adjust this limit, but no plugin can override a hard limit set at the server or firewall level. Plugins rely on the same runtime functions that cannot modify
PHP_INI_PERDIR settings. Control panel or server file changes are the only permanent solution.What is a safe maximum upload size?
Only raise the limit to what you actually need for your workflow. For most standard sites, 64M–128M is sufficient for media and plugin uploads. For large demo imports or video files, 256M–512M is reasonable. Setting the limit to 1G or higher increases the potential impact of any malicious upload that might bypass other security layers.
Final Notes
Applying these server-level changes will let you seamlessly import large page templates, high-resolution media, and database dumps without interruption.
If the new limit does not appear after applying changes, clear your WordPress cache plugin and browser cache to refresh the values.
If you have tried all applicable methods for your server environment and your upload limit remains stuck at 2 MB or 8 MB, your hosting provider has enforced a hard global limit at the root server level that cannot be overridden via user-level configuration. In that case, reach out to your host’s support team to discuss resource adjustments, or migrate to a hosting environment that grants full control over PHP settings.
Have you successfully fixed the upload size error on your WordPress site? Share which method worked for you in the comments below.
Error Establishing a Database Connection: Complete Fix Guide for WordPress
That morning, I opened my browser to handle a few comments left overnight. The page spun for a full ...
Advanced MetaSlider SEO: Optimize Your WordPress Slideshows for Ranking
MetaSlider is a cornerstone plugin for WordPress, enabling the creation of dynamic, responsive slide...